Scangui

How to start it:
In applications: “MAXIV Scangui”
In terminal: “scangui”
What does it do?
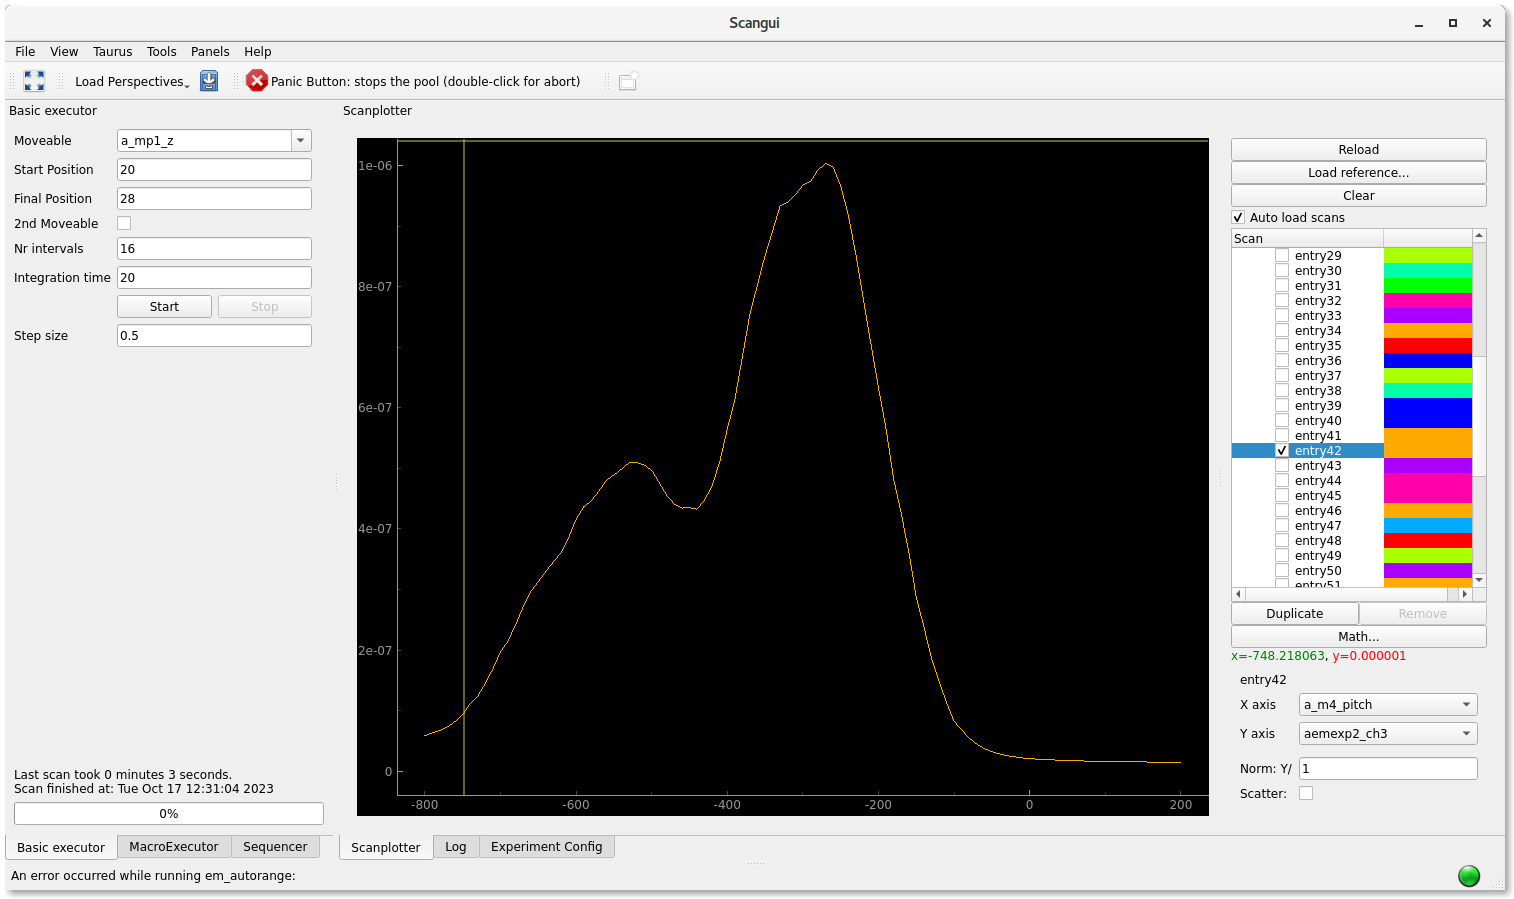
The scangui is a general purpose scanning tool. It is used for scanning motors or combined motions (such as beamline energy, manipulator positions, etc.).
When do I need to use it
Finding the sample by scanning the manipulator
Measure XAS
Making a RIXS-map
Setting up sequences to automatically measure XAS or RIXSmaps at different sample positions.
Note that running any scans, you need to select a proper ‘Measurement Group’. This will allow you to select a proper set of electrometer group, and also the possibility to trigger RIXS measurement.
This is how you can select a proper measurement group:
open ScanGui –> Experiment config –> Click the radiobutton “Edit Mode” –> Measurement Group –> Active Measurement Group –> from the dropdown list, select “aemexp2” for XAS and raster scanning sample or scanning any motors WITHOUT measuring RIXS. Else, select “RIXS_NEW” for measuring RIXS maps, spectrometer focusing and resolution calibration.
Making an XAS-measurement
Go to the tab “Experiment Config”, make sure the correct measurement group (“aemexp2”) is selected.
Click “Apply” in the bottom right corner.
Now you can go back to the tab “Scanplotter”
Go to the tab “Basic executor”
Set the moveable to: “beamline_energy”
Set Start position and Stop position.
Choose the number of steps for the scan, either by writing the number of intervals (which is 1 less than steps), or by writing the stepsize “0.1” (eV)
Integration time is generally 0.1 s, but you can increase it depending on the signal quality.
Click “Start” to run it
In the scanplotter, you have to select the correct x and y axis, both for the “Livedata” and for the scan loaded from file, eg., “entry1337”
Making a simple RIXS-map
You need to follow exactly the same process as XAS measurement with the following few differences:
Go to the tab “Experiment Config”, make sure you choose correct measurement group (”RIXS_NEW”) is selected.
-7. Same as XAS.
Depending on the signal intensity, you can vary the integration time to a reasonable value. This is the exposure time at each step.
Setting up advanced sequences
MacroExecutor tab
Here you can write only one line of sequence, like “mesh”, or “ascan”, etc.
Sequencer tab (advanced measurement mode)
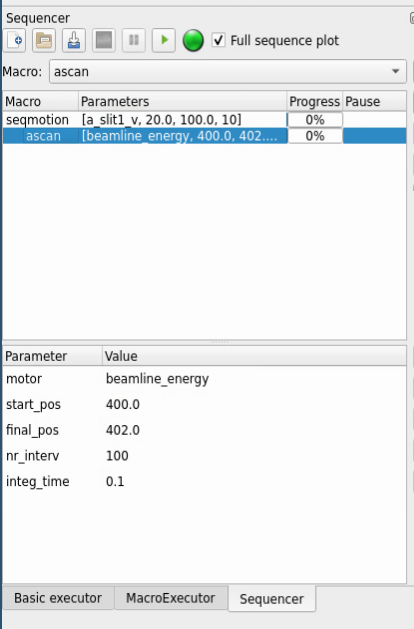
Here you can write a multiple lines of sequence. Therefore, it is possible to automate measuments using custom macros. In the sequencer tab one can load, modify, save and run such macros using a graphical interface. (The sequencer macro is saved as an *.xml file, and can also be modifed in a text editor).
Here are some list of frequently used list of custom macros:
Macro |
Description |
Optional |
Save output |
|---|---|---|---|
ascan |
Scan in Basic executor |
||
mesh |
Scan two motors, data will be saved in a single entry |
bidirectional = True to snakescan |
Single entry |
meshc |
Scan two motors, 1st motor will scan continuousl, data will be saved in a single entry |
bidirectional = True to snakescan. slowdown parameter is used to control scan speed. |
Single entry |
a2scan |
Scan along a line across two dims defined by the start and endpoints for the two motors |
a |
Single entry |
seqmotion |
Outer loop scan, will NOT generate an entry |
This macro is using for making loop, this macro it self does’t save file |
|
rixsaqstart |
will trigger rixsaq to initate a scan. it is possible to make sequence of RIXS mesuamrent by combineation with rixsaqstop and sleep macro. |
data will be saved by rixsaqstop |
|
rixsaqstop |
will trigger rixsaq to stop an aqusition |
data will be saved by rixsaqstop |
|
sleep |
wait for specified value in second |
||
mv |
move a single motor to a specified value |
Examples of some sequences
1. Find samples (raster scan)
You may use any one of the “MacroExecutor” or “Sequencer” tabs. A mesh scan or raster scan can be used to find the sample. You need to select two motors or pseudo motors, for example a_mp1_x and a_mp1_y (x and y manipulator axii), you also need to specify the start and stop for the two motors.
2. Nested scans

An example sequence which scans the slit from 20um to 100um and makes a XAS-measurement at every slitopening.
3. Measure XAS and RIXS at multiple angles
Gitlab link: https://gitlab.maxiv.lu.se/kits-maxiv/app-maxiv-scangui3